EDC PUMP SEAL-SWAP SERVICE INSTRUCTIONS
If your EDC pump is not pumping air as it should, there is a quick & easy solution built into the pump. Typically, If your pump is not pumping air, it means that O-ring 10A on the Piston head is either undergreased or fatigued. The goal of this service is to swap O-ring 10B with O-ring 10A, effectively renewing the piston seal. This service can be performed without tools, & just a bit of grease.
Things You Will Need
- Two hands
- Grease & Cloth

COMPLETE EXPLODED VIEW & PARTS LIST
Service Time: Approximately 10 minutes Difficulty: Easy
We recommend that you look at the Exploded view & read ALL steps of the service instructions before you begin.
STEP 1: HANDLE & CAP REMOVAL
Remove EDC tool or handle cap (7) from handle (6) of pump and set aside.
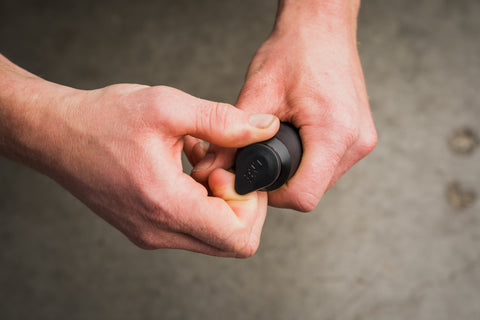
Extend the pump. While holding the green piston tube (1) , unscrew the handle (6) by turning it counter-clockwise.


STEP 2: HANDLE SEAL & O-RING REMOVAL
Remove the o-ring (10B) from the piston tube (1) and slide handle seal (8) off the ram tube (4).

STEP 3: VALVE CAP REMOVAL
Hold the ram tube (4) of the pump and unscrew the valve cap (3) counter- clockwise.


STEP 4: PISTON TUBE REMOVAL
Push piston tube (1) out the pump head side of the ram tube (4) to expose the piston head (2).

STEP 5: PISTON TUBE (1) O-RING SWAP
By hand, carefully remove O-ring (10A). Replace it with O-ring (10B) that you removed in Step 2. Once the O-ring is seated properly, apply a thin layer of grease around it. Please keep in mind that O-ring (12), which sits on the piston head, below O-ring (10A), does not require replacement.

STEP 6: PISTON TUBE & VALVE CAP INSTALL
Slide the green piston tube (1), threaded side first back into the ram tube (4).

While holding the ram tube (4) with one hand, thread the valve cap (3) into the ram tube until tight. Take care with starting the threads to avoid cross threading.

STEP 7: HANDLE INSTALL
Slide the old Piston head O-ring (10) just past the threads of green piston tube (1). While holding the piston tube (1), thread the handle (6) onto the piston tube until tight. Take care when starting the threads to avoid cross threading.

STEP 8: HANDLE CAP INSTALLATION
Insert handle cap (7) or EDC tool.

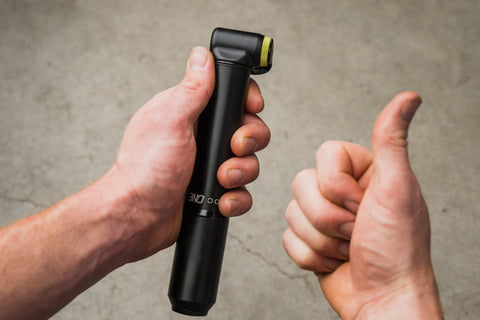
STEP 9: TEST PUMP
Test pump for proper function before putting it on your bike or in your kit! You can do this by holding your thumb firmly over the valve and pump the handle. If the handle cannot be compressed then it is good to go!

Congratulations!
You have successfully serviced your pump.
If you are still having trouble please email us at support@oneupcomponents.com for help. Please include a detailed description of your issue, photos are often helpful.
Thanks
OneUp